Resource guide — Updated 10 August 2026
Weatherboard Painting & Restoration
How to assess, prepare and paint weatherboard so it lasts through Auckland's climate.
Weatherboard Care
Weatherboard Restoration & Painting
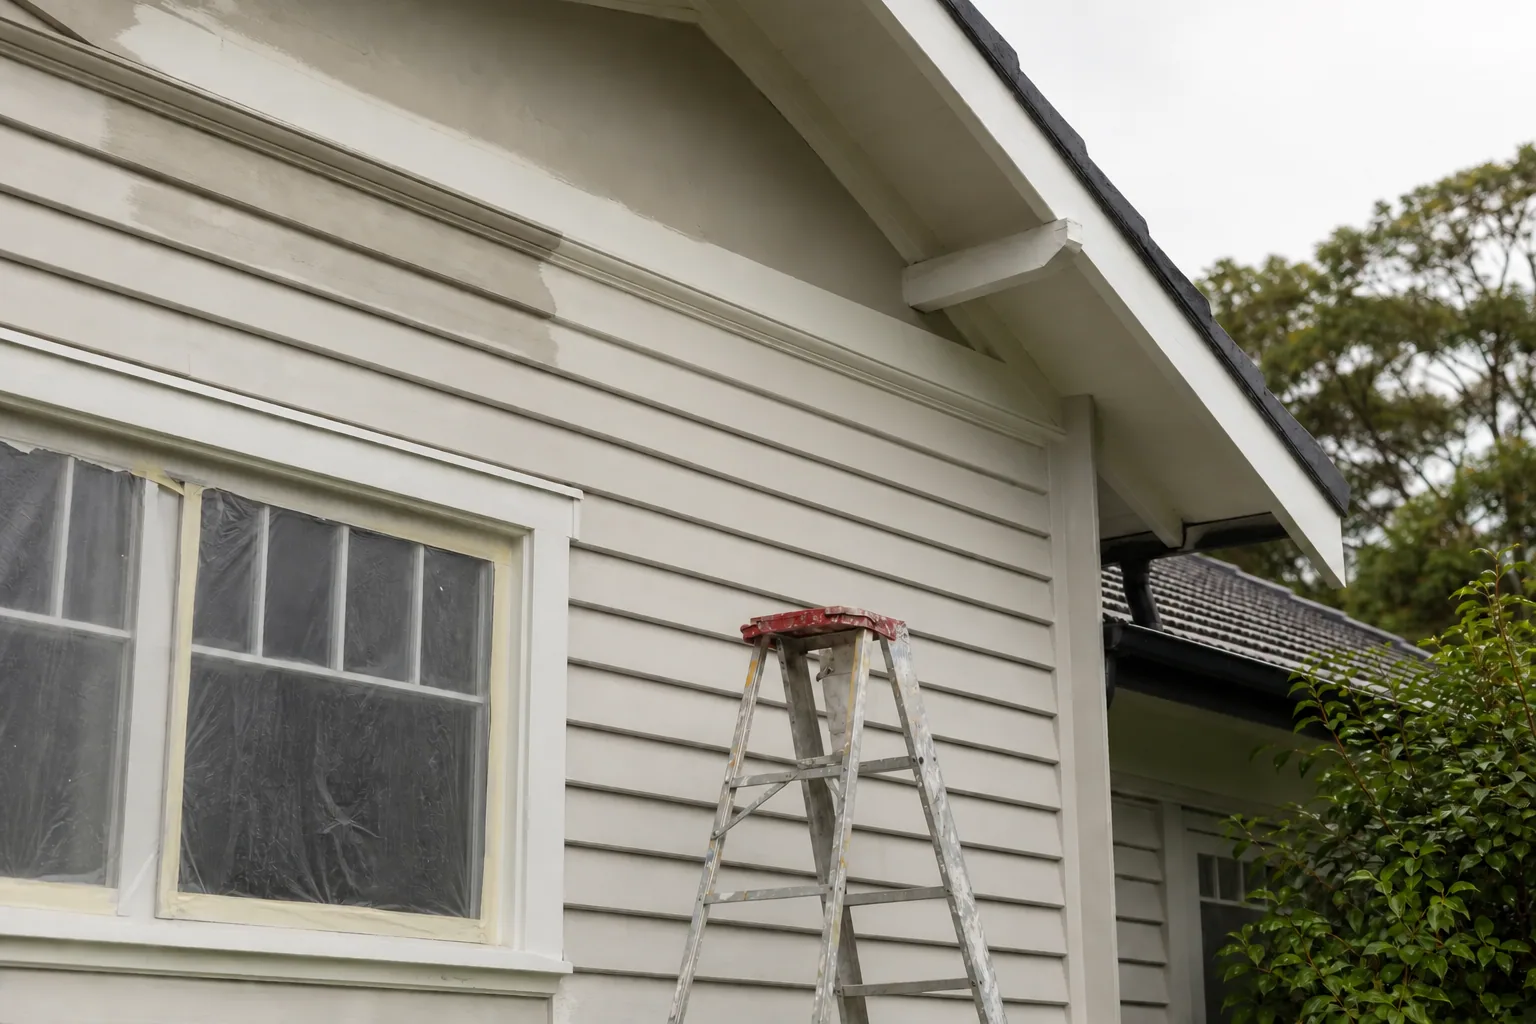
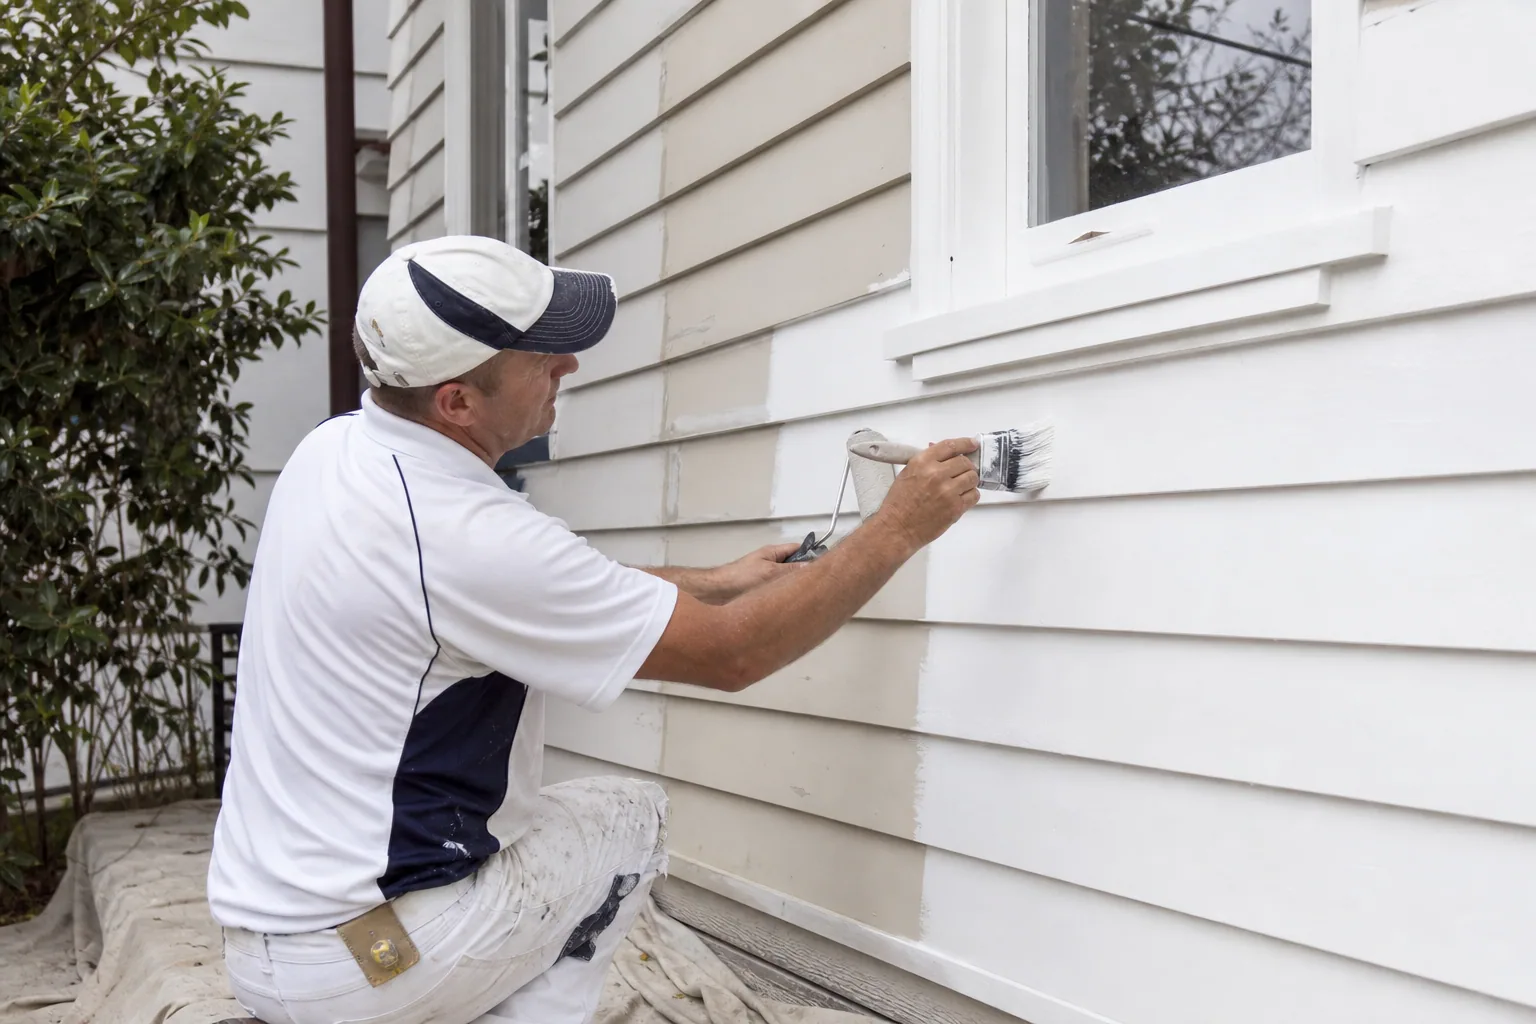
Successful Weatherboard Painting & Restoration begins with finding failed coatings, timber movement and repairs before the finish coats go on.
Why Weatherboard Needs a Different Approach
Weatherboard is timber, and timber moves. It expands and contracts with humidity and temperature, which is exactly the kind of swing the North Shore gets between a humid summer and a dry, sun-baked afternoon on a north-facing block. Paint systems designed for masonry or fibre cement don't flex the same way, so a weatherboard repaint has to allow for that movement or the film will crack along board lines within a few seasons.
Many North Shore weatherboard homes are also older housing stock, which means the boards underneath the current colour may carry several generations of paint, sometimes including an early coating that has gone brittle or is failing at the edges. Treating a weatherboard repaint as a simple wash-and-recoat job without checking what's actually on the timber first is one of the more common ways a paint job underperforms.
Assessing Condition Before You Paint
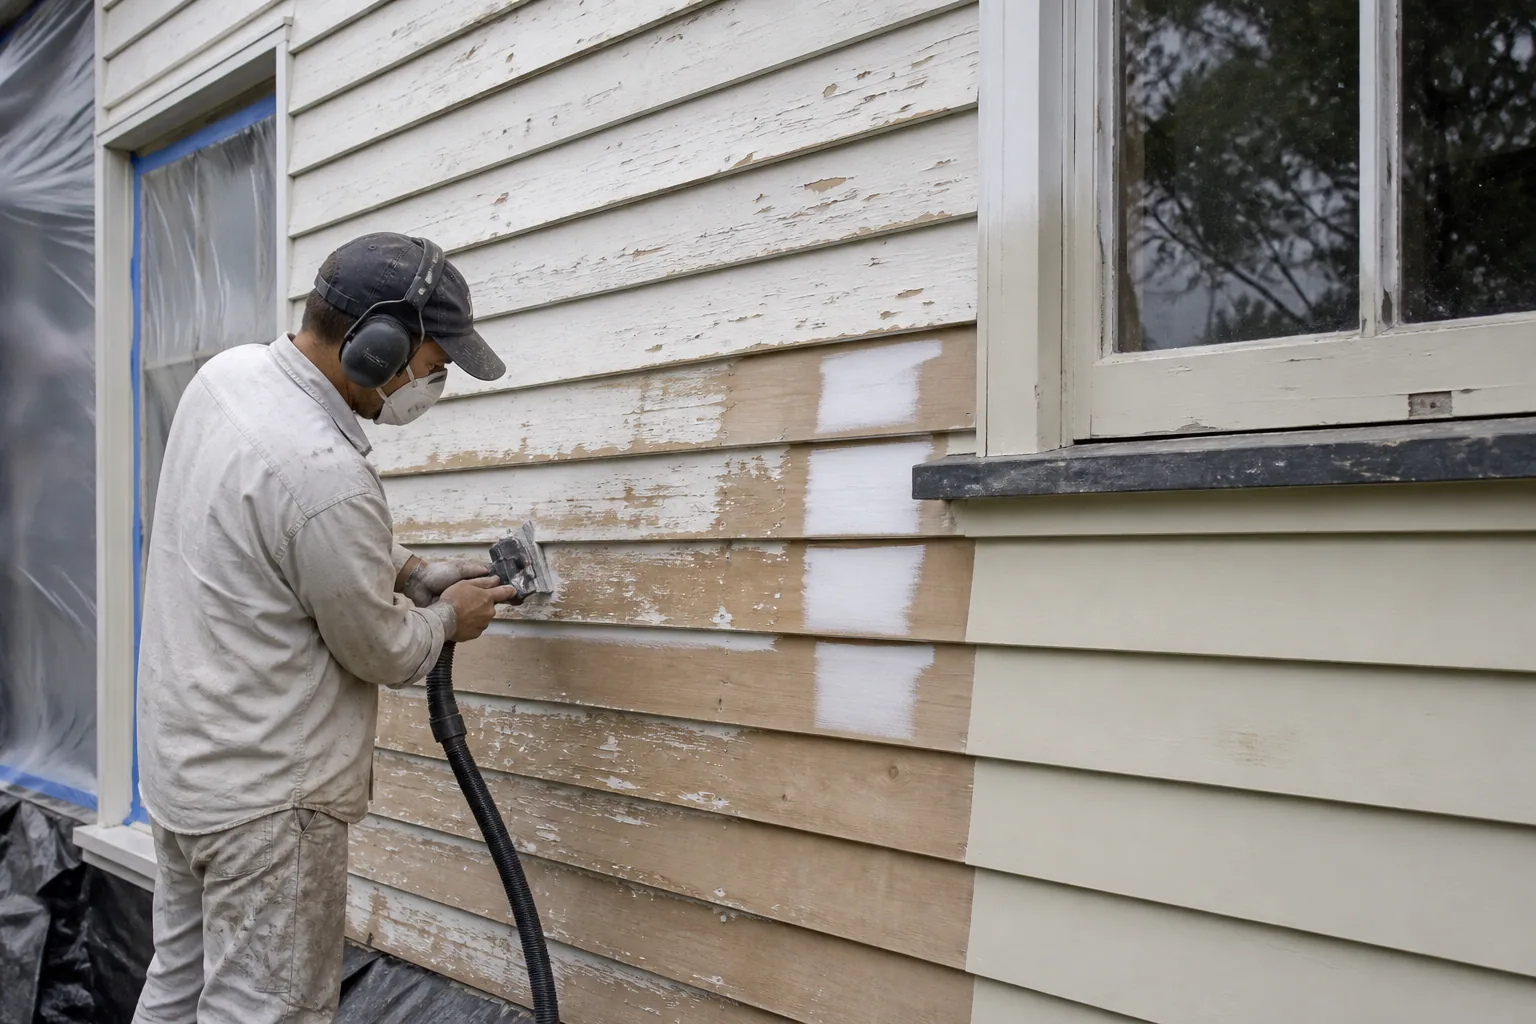
A proper assessment starts at ground level and works up, looking for cupping or bowing boards, soft or rotten sections (usually near the bottom edge, around windowsills, and anywhere gutters have overflowed), nail heads that have popped or rusted and bled through the paint, and gaps opening up between boards or at joins. Any of these should be addressed before painting, not covered over, because paint doesn't fix structural timber problems, it just hides them for a while.
It's also worth checking the underside of eaves and any boards in deep shade, since these areas dry more slowly and are more prone to mould, algae staining and coating breakdown than sun-exposed walls. On leafy, tree-covered North Shore blocks this shaded, damp microclimate is often the first place a weatherboard repaint starts to fail.
Preparation Steps That Actually Matter
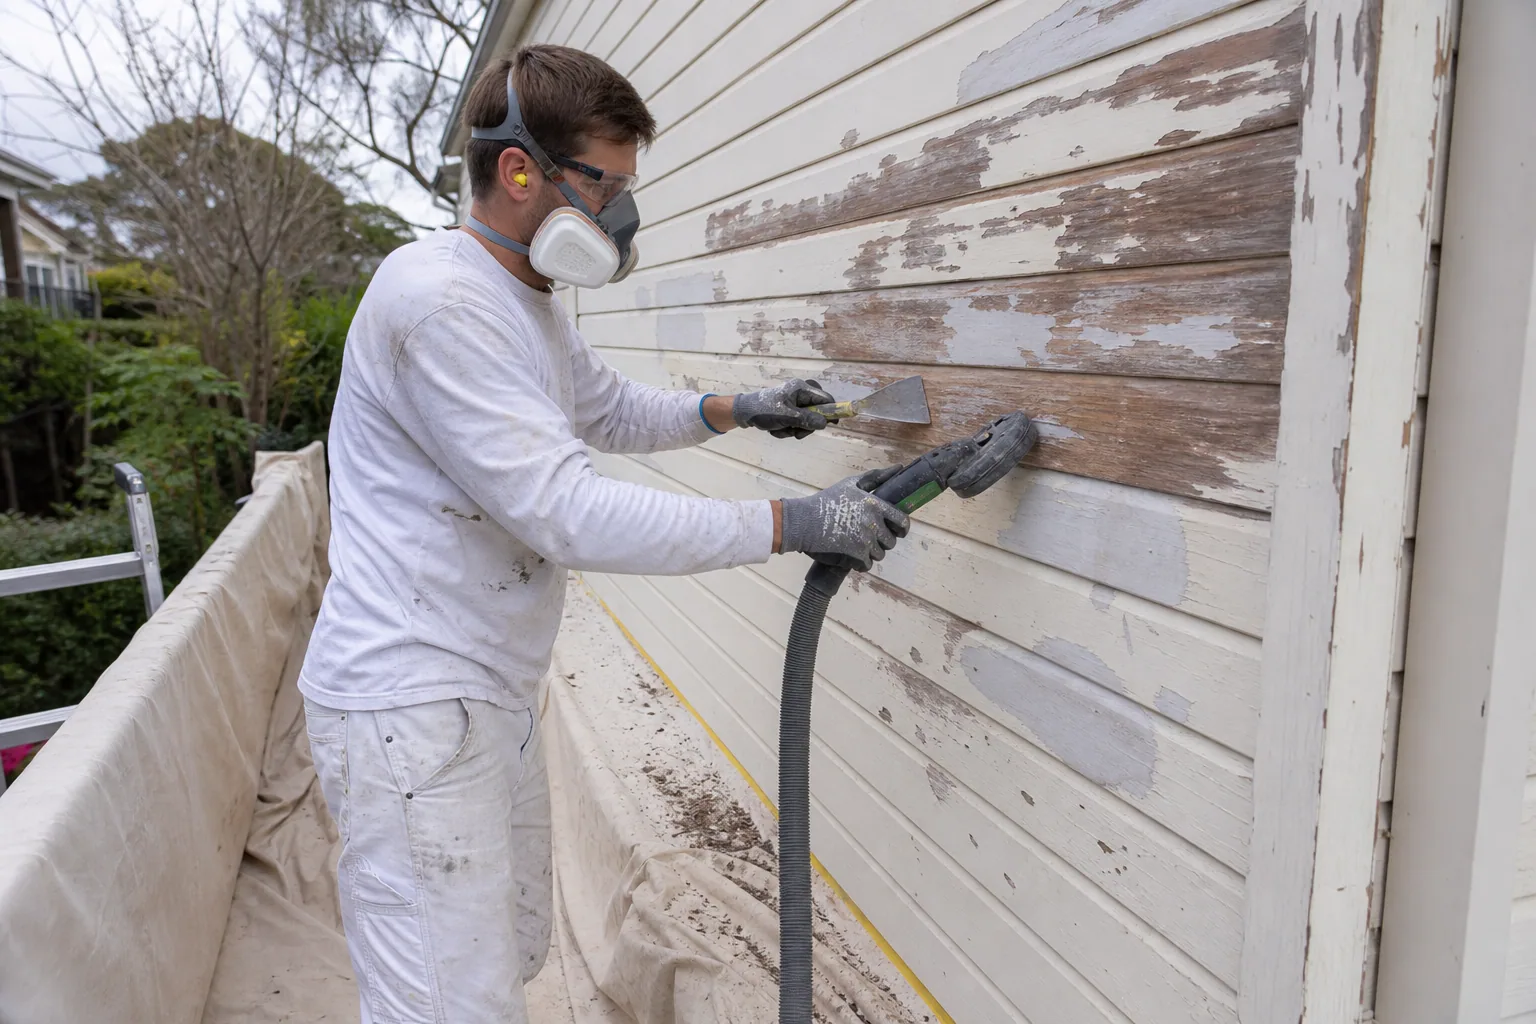
Preparation is where a weatherboard job is won or lost. That means washing down to remove surface dirt, mould and chalking paint residue, scraping and sanding back any flaking or peeling sections to a sound edge, and spot-priming bare timber before the full coat goes on. Nail holes, small cracks and gaps between boards benefit from a flexible exterior filler or caulk rather than a rigid filler that will crack again as the timber moves.
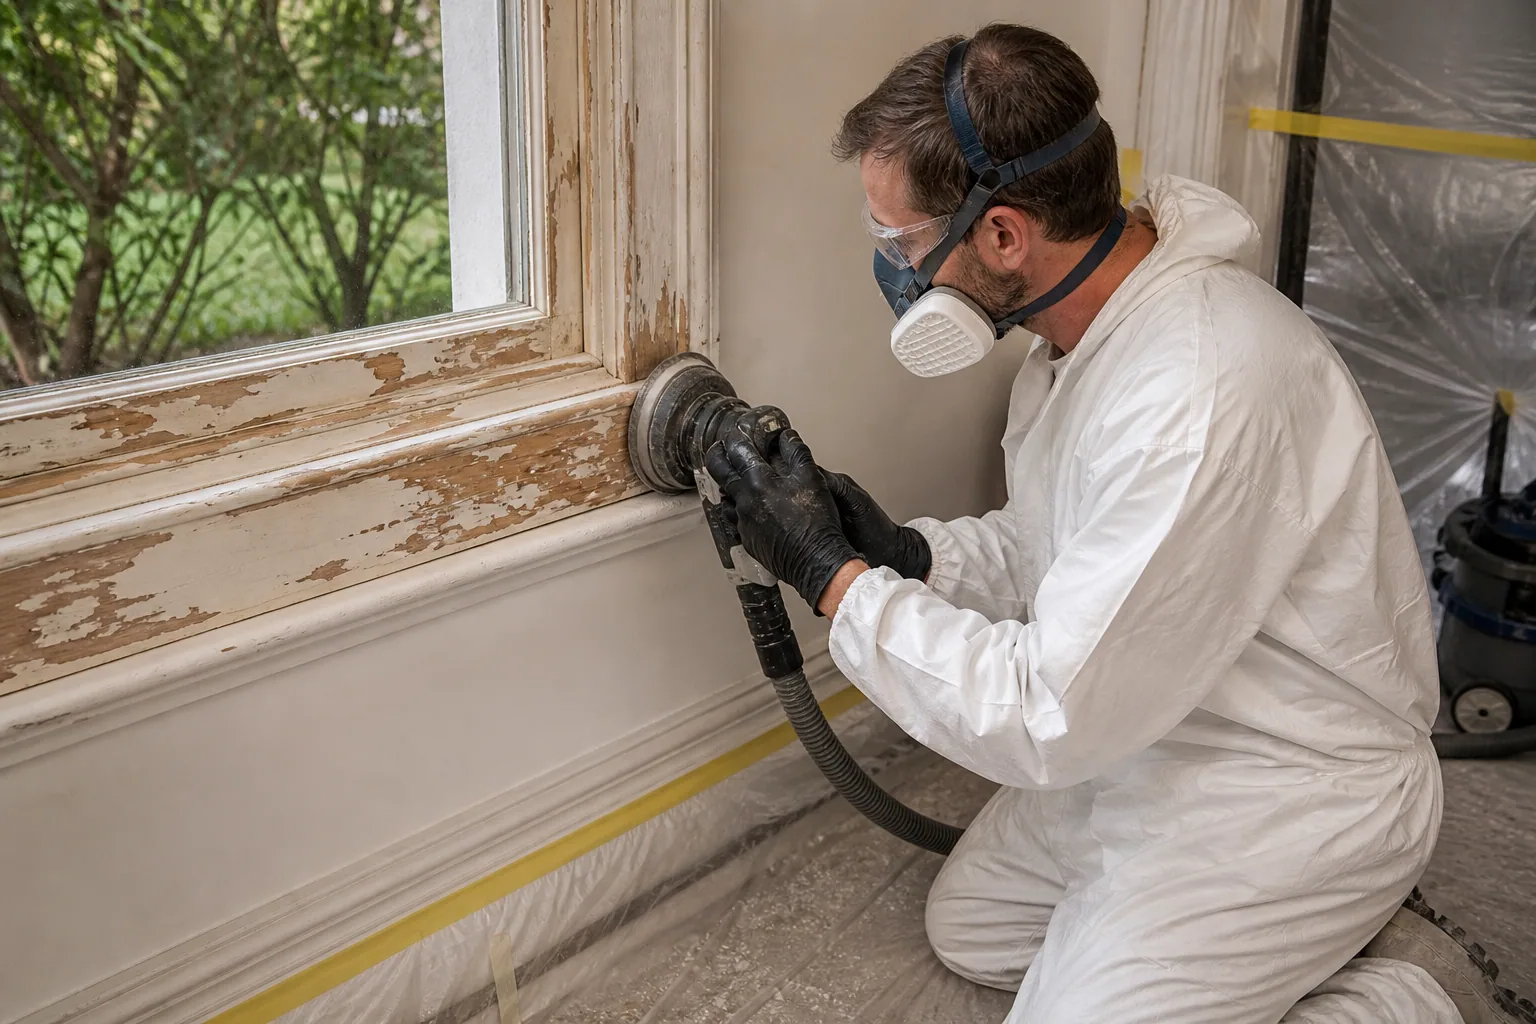
Feather-sanding the edges of old paint so there's no visible ridge where old meets new, and allowing washed surfaces to dry fully before priming, are both simple steps that get skipped when a job is rushed. On older homes, preparation should also include sensible care around old, deteriorated paint layers rather than aggressive dry sanding.
Choosing the Right Paint System
Quality acrylic exterior paints formulated for timber are the standard choice for most weatherboard homes today, offering good flexibility to move with the timber and reasonable UV resistance for exposed elevations. Bare or previously bare timber should get a dedicated exterior primer suited to timber rather than going straight to topcoat, and knots or areas prone to tannin staining benefit from a stain-blocking primer so the timber's natural colour doesn't bleed through a lighter topcoat.
Two full coats over a properly primed surface is the reliable approach rather than trying to stretch one heavy coat further than it should go. Matching sheen level to the home's style and street exposure is also worth a conversation, since a low-sheen or satin finish tends to suit older weatherboard homes and shows fewer surface imperfections than a higher gloss.
North Shore Conditions That Affect Weatherboard
Homes on exposed, north or west-facing blocks cop the most UV and heat cycling, which is usually where a paint film chalks and fades first. Homes tucked under trees or close to bushland reserves face the opposite problem: persistent shade, damp and leaf litter build-up against the base of walls, which encourages mould growth and slows drying after rain. Coastal-influenced air moving up the harbour can also add a salt element on exposed elevations, worth factoring into paint choice and wash-down frequency.
Because these conditions vary so much from one elevation of a single house to another, it's common for a weatherboard home to need attention to one wall well before the others. A good repaint plan takes that into account rather than treating every wall as identical.
Maintenance and Repaint Cycles
Well-prepared, well-painted weatherboard typically holds up for a good number of years before a full repaint is needed, but a simple annual check helps catch problems early: look for early chalking, hairline cracking along board joins, and any soft spots at the base of walls. Addressing small areas of failure as they appear, rather than waiting for a whole elevation to fail, generally means less preparation work and a longer-lasting result next time around.
Gutters, downpipes and any sprinkler overspray hitting the base of weatherboard walls are also worth checking, since ongoing moisture exposure from a leaking gutter will break down even a well-applied paint system faster than normal weathering will.
Sources & further reading
Authoritative references for the safety, planning and product considerations discussed in this guide.
Frequently asked questions
Quick answers to follow-up questions on this topic.
It depends heavily on aspect, shade and the quality of the previous preparation and paint system, but well-maintained weatherboard on the North Shore commonly goes a decade or more between full repaints, with sun-exposed or shaded, damp elevations sometimes needing attention sooner.
Light chalking usually just needs a thorough wash and a light sand before recoating, but if the existing paint is cracking, peeling or flaking, those areas need to be scraped and feathered back to a sound edge first, otherwise the new coat will fail in the same spots.
Timber weatherboard moves more with humidity and temperature than fibre cement, so it needs a more flexible paint film, careful attention to joins and nail heads, and closer inspection for rot, whereas fibre cement is more stable but can still suffer from surface chalking and needs its own preparation approach.
Homes built before the early 1970s may have lead-based paint in older coating layers, so it's worth asking your painter about lead-safe work practices, particularly if any dry sanding, scraping or removal of old paint is involved.